What to Do If a Tree Falls on a Roof? 5 Immediate Actions to Take
If a tree falls on a roof, take these 5 immediate actions: evacuate everyone including pets, call 911 if there’s…

The roof installation process consists of seven main steps: from initial roof inspection and planning to final cleanup and quality inspection. This systematic approach ensures that contractors install new roof systems properly, creating watertight protection that lasts 20-50 years depending on materials chosen. Understanding each step helps homeowners know what to expect during their roof replacement project.
This detailed guide walks through every phase of the roof installation process, explaining what happens, why each step matters, and how long it takes. Whether you are planning roof replacement or simply want to understand how professional roofing works, this information prepares you for a successful project with your roof installation Boston MA contractor.
Every successful roof installation begins with a thorough roof inspection that evaluates your current roof condition, identifies underlying issues, and determines project scope. This critical first step of the roof installation process ensures accurate estimates and prevents surprises during the actual work.
What happens during inspection:
Modern contractors often use drone technology for roof inspection, capturing detailed images without walking on damaged surfaces. This approach provides comprehensive documentation while reducing risk.
Before crews begin tearing off your old roof, materials arrive and the site is prepared for safe, efficient work. Proper preparation protects your property and enables the installation team to work productively.
Site preparation includes:
The tear-off phase removes all existing roofing materials down to the deck, allowing inspection of the underlying structure and ensuring proper installation of new materials. This step of the roof installation process is often the noisiest and most disruptive, typically lasting several hours for an average-sized home.
Tear-off process:
Some contractors offer overlay installation that places new shingles over existing ones. However, most roof replacement projects benefit from complete tear-off, which allows proper deck inspection and creates a better foundation for your new roof.
With the old roofing removed, crews can inspect the roof deck for damage that was hidden beneath the shingles. This critical step identifies rot, roof damage repair, or structural issues that must be addressed before installing new materials.
Deck inspection covers:
Common repairs:
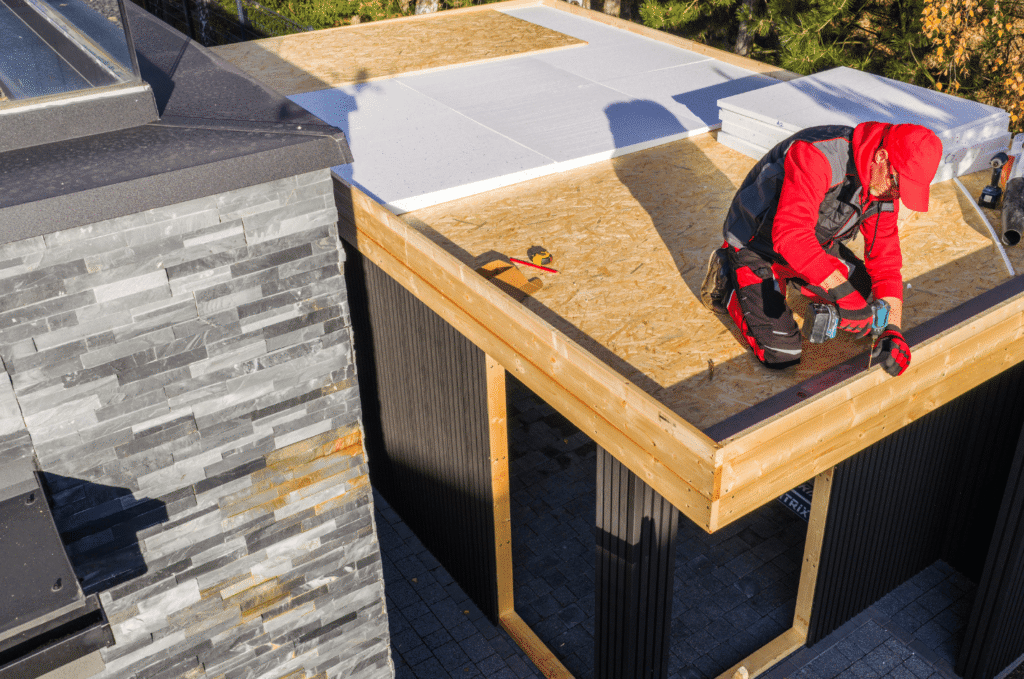
Before installing visible roofing materials, contractors apply critical waterproofing layers that provide secondary protection against moisture. These components are essential to the roof installation process, particularly in Boston’s demanding climate.
Waterproofing components:
Massachusetts building code requires ice and water shield extending at least 24 inches past the interior wall line. This requirement specifically addresses ice dam protection crucial for roof installation Boston MA projects.
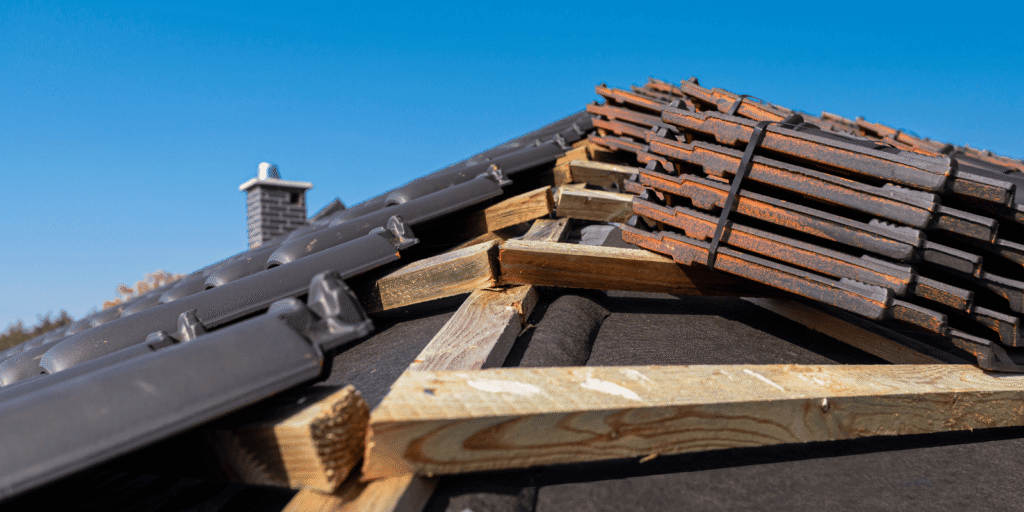
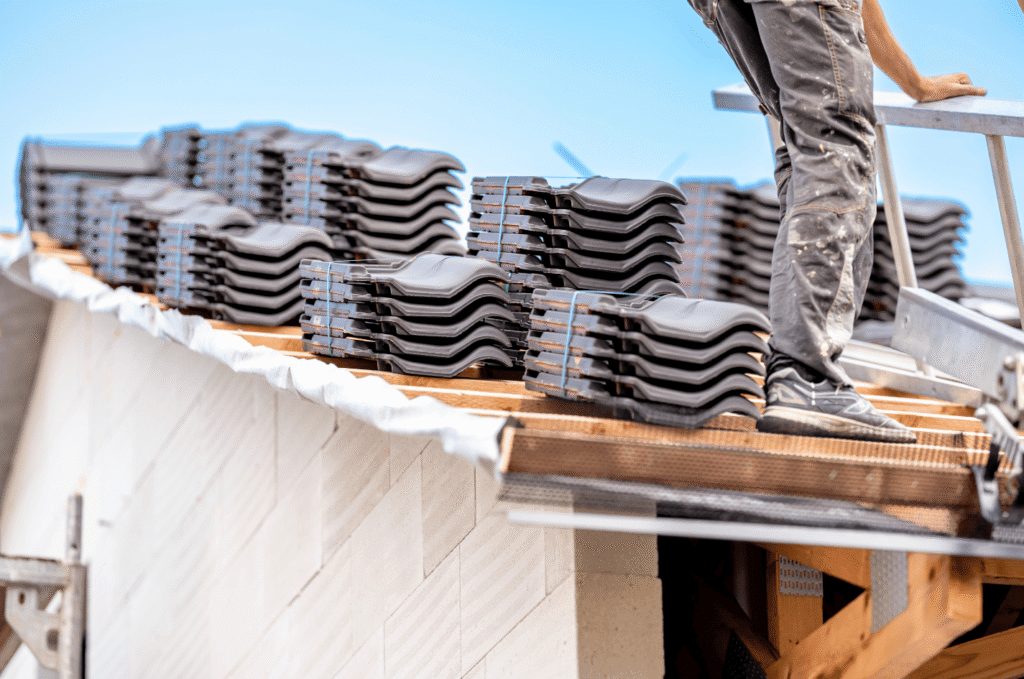
With preparation complete, crews install new roof materials following manufacturer specifications and industry best practices. This step transforms your home’s appearance while creating durable weather protection.
Installation sequence for shingles:
Proper nailing is essential. Each shingle requires specific nail placement and quantity according to manufacturer requirements and local wind zone specifications. Improper nailing is a leading cause of premature roof failure.
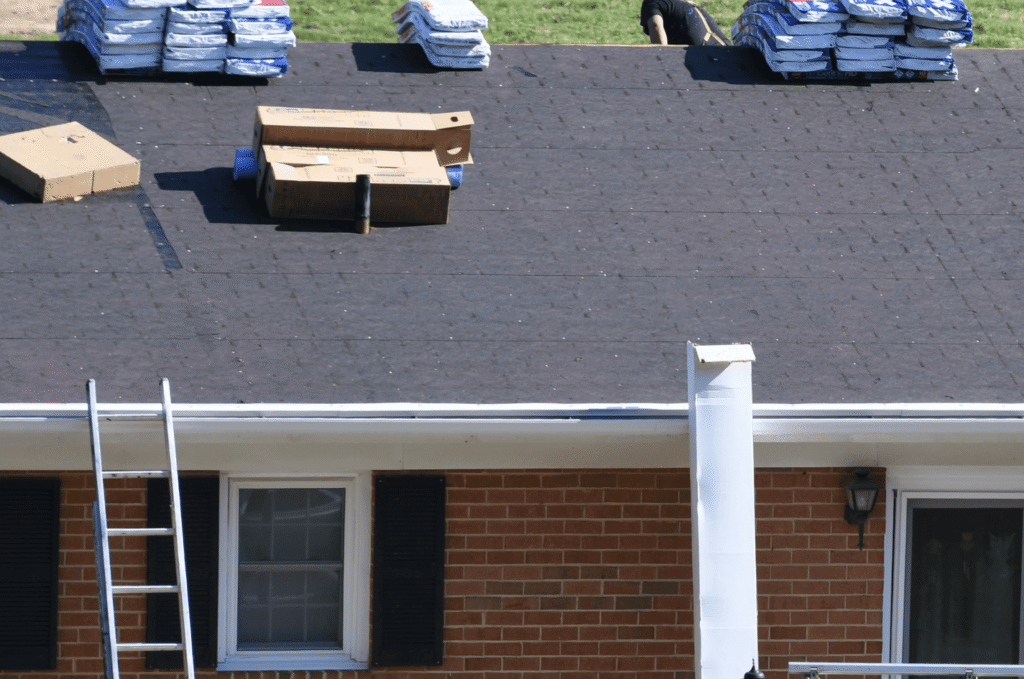
The final step of the roof replacement and installing a new roof ensures your property is clean and the installation meets quality standards. Reputable contractors take this phase seriously, leaving your home better than they found it.
Cleanup procedures:
The roof installation process in Boston requires specific adaptations for local climate conditions and building requirements. Understanding these factors ensures your new roof performs optimally for decades.
Wind Resistance Standards: Nor’easters regularly bring 50-70 mph winds to Greater Boston, demanding proper installation techniques and high-wind rated materials. The roof installation process must include correct nail patterns (typically 6 nails per shingle in high-wind zones), starter strip installation, and hip and ridge caps rated for wind uplift. These details prevent the shingle blow-offs common after major storms.
Temperature Considerations: Asphalt shingles require temperatures above 45 degrees Fahrenheit to properly seal. The adhesive strips that bond shingles together activate with warmth, creating wind-resistant connections. Roof installation Boston MA contractors schedule projects during optimal seasons, typically late spring through early fall. When winter installation is unavoidable, hand-sealing each shingle ensures proper adhesion until temperatures rise.
Ventilation Requirements: Boston’s cold winters and humid summers make proper attic ventilation essential. The roof installation process must include balanced intake vents at soffits and exhaust vents at ridges. Inadequate ventilation causes ice dams in winter and premature shingle aging from heat buildup in summer. Experienced contractors assess and correct ventilation issues during roof inspection.
Understanding the OneGuard Roofing roof installation process helps you prepare for this significant home improvement project. From initial roof inspection through final cleanup, each step builds toward a roof that protects your home for decades. Working with experienced professionals who follow proper procedures ensures you get the quality installation your home deserves.
We serve Boston, Cambridge, Somerville, Brookline, Newton, Quincy, and all Greater Boston communities. Let us show you why homeowners trust our team to install new roof systems that last.